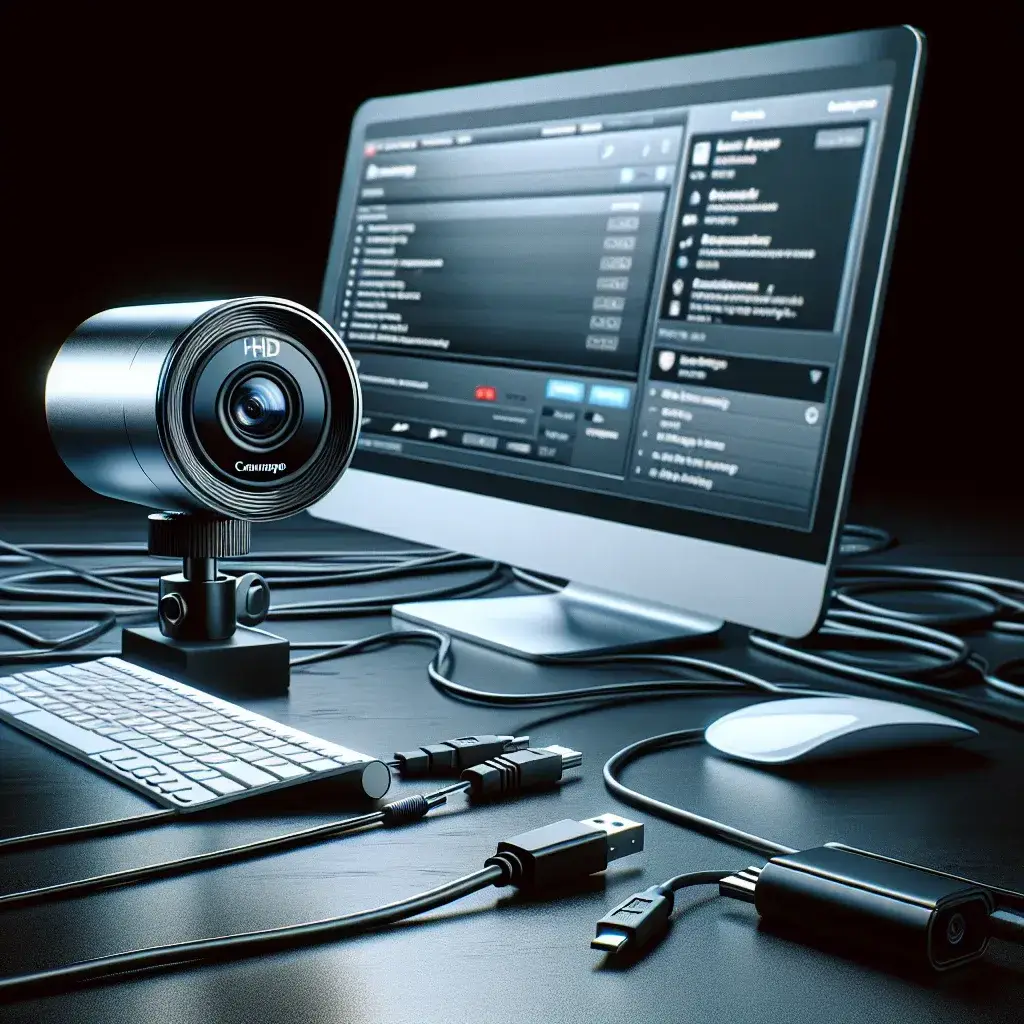
Setting up an HD webcam for live streaming can seem daunting at first, but with the right guidance, it can be a straightforward process. Whether you’re looking to start streaming on Twitch, YouTube, Facebook Live, or any other platform, having a high-quality video feed is essential. This article will walk you through the necessary steps to set up an HD webcam for a seamless live streaming experience.
1. Gather Your Equipment
Before diving into the setup process, you need the following equipment:
- HD Webcam
- Computer or Laptop
- High-Speed Internet Connection
- Streaming Software
- Tripod or Mount
Table of Required Equipment
| Equipment | Description |
|---|---|
| HD Webcam | Provides high-definition video feed |
| Computer or Laptop | Device to run streaming software |
| High-Speed Internet Connection | Ensures smooth real-time transmission |
| Streaming Software | Software for broadcasting your stream |
| Tripod or Mount | Stabilizes your webcam |
2. Choose the Right HD Webcam
Your webcam is the cornerstone of your video quality, so selecting the right model is crucial. Popular choices include:
- Logitech C920
- Razer Kiyo
- Microsoft LifeCam HD-3000
Consider factors like resolution, frame rate, and built-in microphones.
3. Install the Webcam
Follow these steps to install your HD webcam:
- Connect the webcam to a USB port on your computer.
- Install any necessary drivers (usually available on the manufacturer’s website).
- Position the webcam on a tripod or mount it on your monitor.
4. Configure Your Streaming Software
After installing the webcam, the next step is to configure your streaming software. Popular options include OBS Studio, Streamlabs OBS, and XSplit. Here, we’ll use OBS Studio as an example:
Setting Up OBS Studio
- Download and install OBS Studio from the official website.
- Open OBS Studio and navigate to Settings.
- Under the Video tab, set the Base (Canvas) Resolution to match your webcam’s resolution.
- Set the Output (Scaled) Resolution to your desired streaming resolution.
- Configure the FPS (Frames Per Second) to 30 or 60, depending on your internet speed and computer’s capability.
- Under the Stream tab, select the streaming service you’re using and enter your stream key.
5. Optimize Your Setup
To ensure the best quality, consider these optimization tips:
- Lighting: Use natural light or softbox lights to illuminate your face evenly.
- Background: Use a clean, clutter-free backdrop or a green screen for professional aesthetics.
- Audio: Invest in a good quality microphone for clear sound.
6. Test Your Stream
Before going live, it’s essential to test your setup:
- Open OBS Studio and start a test recording to check video and audio quality.
- Adjust settings as needed based on the test results.
- Run a private or unlisted stream to test the live experience without a public audience.
Conclusion
Setting up an HD webcam for live streaming involves careful consideration of equipment, proper installation, and software configuration. By following the steps outlined in this guide, you can ensure a high-quality, professional live streaming experience that will engage and attract viewers. Remember, continuous testing and optimization are key to maintaining a successful live stream.

