Installing RAM (Random Access Memory) in your computer can significantly enhance its performance and speed. This guide is designed to help both beginners and experienced users to upgrade their computer’s memory in a straightforward manner. Follow these steps carefully to ensure a smooth and successful installation.
Understanding RAM
Before diving into the installation process, it’s essential to understand what RAM is and why it’s crucial for your computer. RAM is temporary storage that your computer uses to store data that is actively being used. The more RAM your computer has, the more data it can handle simultaneously, leading to faster and more efficient performance.
Types of RAM
| Type | Description |
|---|---|
| DDR3 | Older generation RAM, slower than DDR4 but still in use in many systems. |
| DDR4 | Current standard for most personal and professional computers, offering faster speeds and better efficiency. |
| DDR5 | Newest generation, providing even higher speeds, although not yet widely adopted. |
Pre-Installation Checklist
- Check Compatibility: Ensure the RAM you purchase is compatible with your motherboard. Check your motherboard’s manual or manufacturer’s website for supported RAM types and maximum capacity.
- Gather Tools: You’ll need a screwdriver (usually Phillips) and an anti-static wrist strap.
- Power Down: Shut down your computer and unplug all cables. Press the power button for a few seconds to discharge any remaining electricity.
Steps to Install RAM
Step 1: Open the Computer Case
Using the screwdriver, remove the screws that hold the side panel of your computer case in place. Carefully slide off the panel to expose the internal components.
Step 2: Locate the RAM Slots
Find the RAM slots on your motherboard. They are long and typically located near the CPU socket. If you’re unsure, refer to your motherboard’s manual.
Step 3: Remove Existing RAM (if upgrading)
Press down on the clips at either end of the RAM slot to release the existing RAM sticks. Carefully remove them, holding them by the edges to avoid touching the gold connectors.
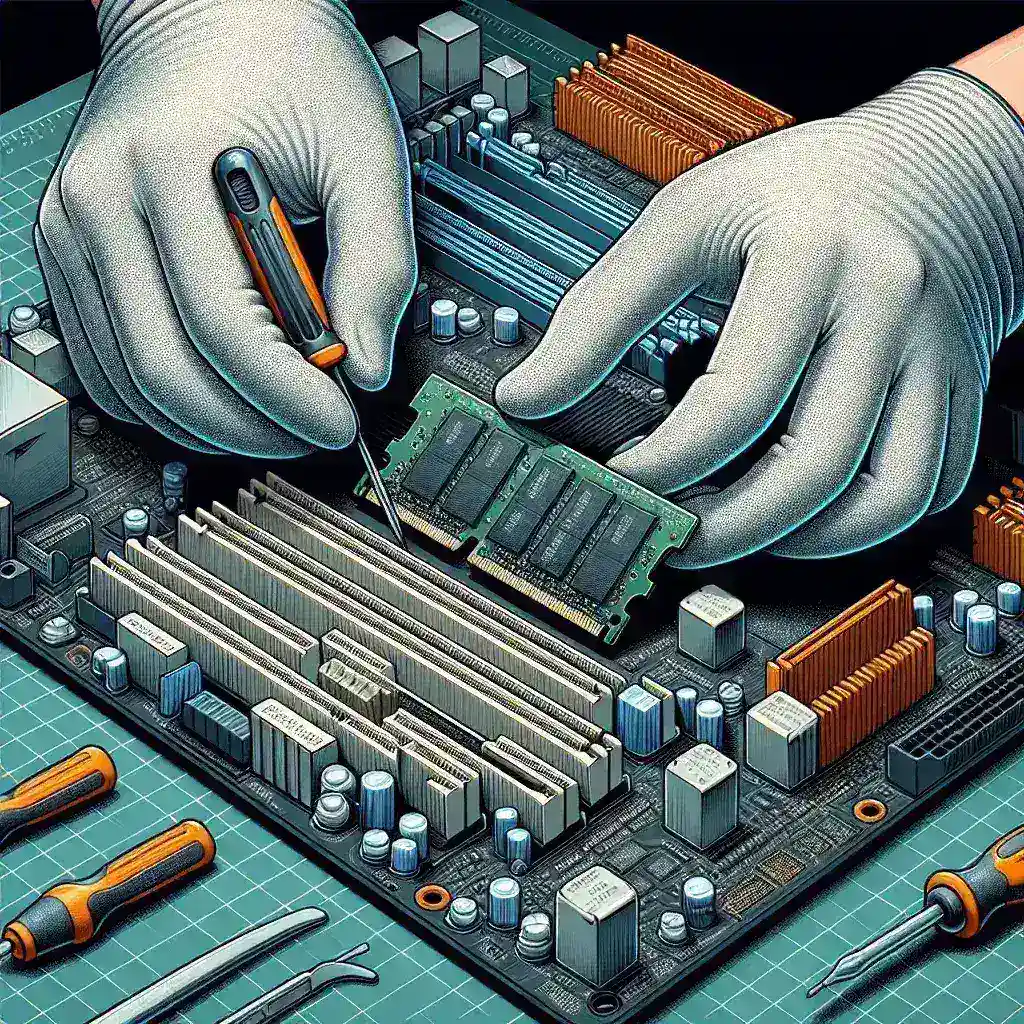
Step 4: Install New RAM
Align the notch on the RAM stick with the key in the RAM slot. Insert the RAM stick at a 45-degree angle and press down firmly until the clips snap into place. Make sure the RAM is fully seated and the clips are secure.
Step 5: Close the Computer Case
Replace the side panel of your computer case and secure it with the screws you removed earlier.
Step 6: Boot Up
Plug in all the cables and power up your computer. If the RAM is installed correctly, your computer should boot normally. You can check the installed RAM by going to the system information under your computer’s settings.
Troubleshooting
- Computer Won’t Boot: Double-check that the RAM is seated correctly and the clips are secure.
- System Crashes: Ensure the RAM is compatible with your motherboard. Update your BIOS if necessary.
- Wrong RAM Amount Detected: Verify that all RAM sticks are properly installed and recognized. Check for any BIOS settings that may need adjustments.
Congratulations! You’ve successfully installed new RAM in your computer. Enjoy the boosted performance and improved speed.